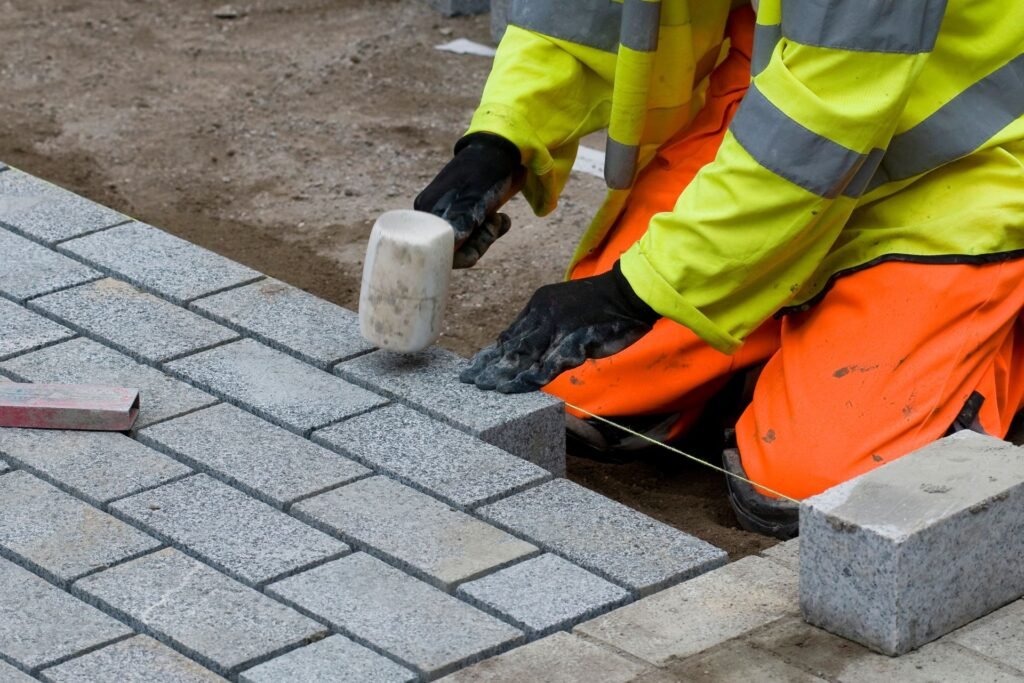
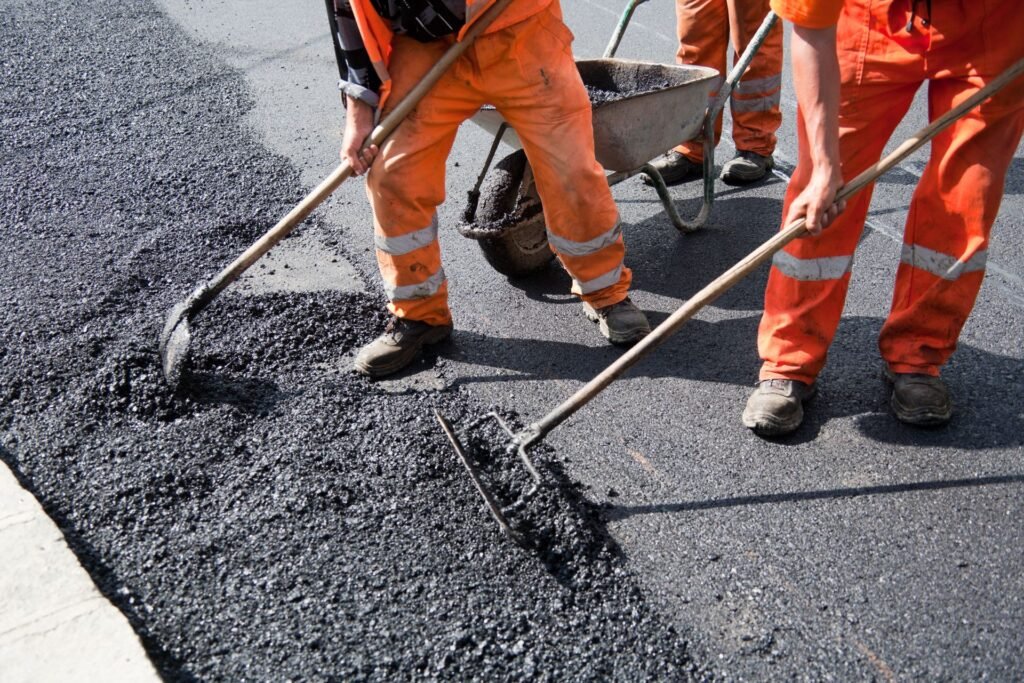
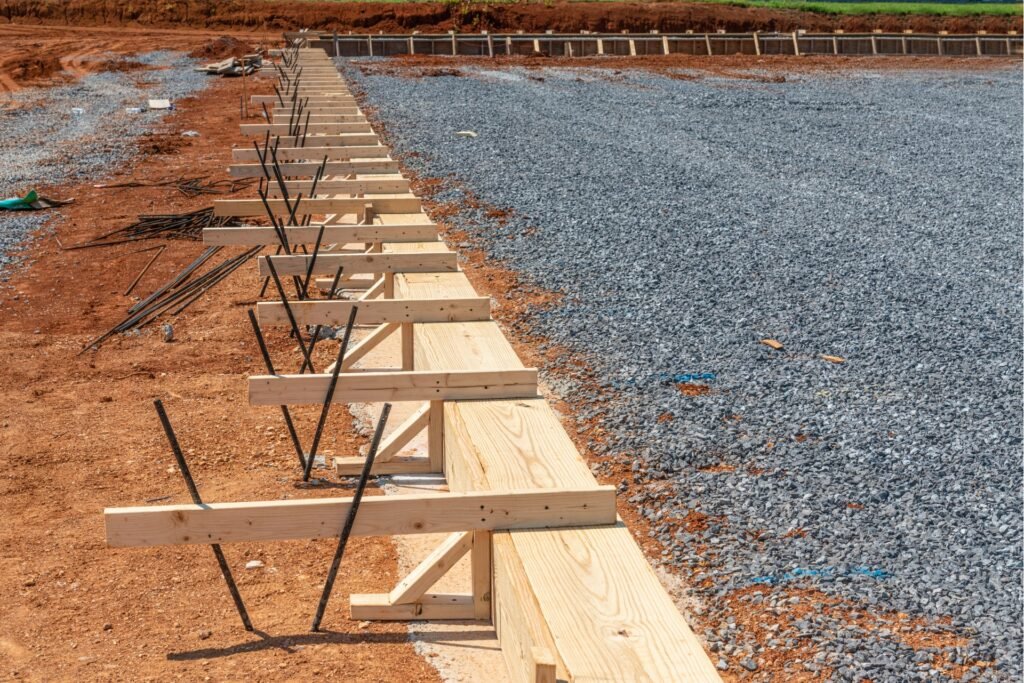
Welcome to your complete guide on how to make pavement slabs! If you’re dreaming of transforming your outdoor space with a custom patio, walkway, or garden path, you’re in the right place. This DIY project is not only cost-effective but also gives you the freedom to create something truly unique. Whether you’re a beginner or an experienced DIY enthusiast, we’ll walk you through every step of the process, from gathering the right materials to mixing, pouring, and curing the concrete. With just a little bit of effort and creativity, you can craft durable, beautiful pavement slabs that enhance your home and garden. Let’s dive into the details and get started.
To make pavement slabs, you’ll need a mix of cement, sand, and gravel in a 1:2:3 ratio. Pour the concrete mix into a mold, ensuring an even spread. Let the slabs cure for 24-48 hours before carefully removing them from the mold. For long-lasting results, allow the slabs to fully cure for up to 7 days and consider sealing them to protect against weather and wear.
Table of Contents
Why Make Your Own Pavement Slabs
Making your own pavement slabs can be an incredibly rewarding project, offering several benefits that go beyond just saving money. Let’s break down why tackling this DIY task could be the perfect option for enhancing your outdoor space.
Customization
One of the biggest advantages of making your own pavement slabs is the ability to customize them exactly to your liking. When buying pre-made slabs, you’re limited to the sizes, shapes, and colors that are available in stores. But when you DIY, you can design slabs that perfectly fit your space and vision. Whether you want a unique geometric pattern, custom sizes that complement your patio, or colors that match your home’s exterior, you have the freedom to create exactly what you need. This flexibility allows you to achieve a one-of-a-kind look that reflects your personal style.
Cost Efficiency
Buying slabs from a store can add up quickly, especially if you’re working with a larger outdoor space. The cost of high-quality, decorative slabs can be particularly steep. When you decide to make your own, you gain control over the materials and quantity, helping you stay within budget without compromising on the look or durability. You can create premium-looking slabs at a fraction of the cost by sourcing materials locally or using affordable alternatives. This can be especially beneficial if you have a large project, like a driveway or expansive patio, where every penny counts.
Sustainability
In a time where environmental concerns are more important than ever, making your own pavement slabs allows you to choose sustainable materials. You can incorporate recycled materials, such as crushed concrete or leftover tiles, reducing waste and giving new life to old items. Additionally, you can select eco-friendly binders or aggregates that have a lower environmental impact than those used in mass-produced slabs. This gives you the opportunity to reduce your carbon footprint while still achieving a durable and attractive finish for your project.
Sense of Accomplishment
There’s something incredibly satisfying about completing a project with your own two hands, especially one that improves your home. When you make your own pavement slabs, you’re not just creating a functional element for your outdoor space—you’re crafting something that will add beauty and value to your home. The sense of pride that comes with a successful DIY project is hard to match. Every time you walk across those slabs, you’ll be reminded of the time and effort you invested. Plus, you can enjoy the added bonus of having a conversation piece whenever guests visit!
Making your own pavement slabs is a fantastic way to personalize your outdoor area, cut costs, embrace sustainability, and enjoy the satisfaction of a hands-on project. It’s a practical and rewarding way to make a lasting improvement to your home.
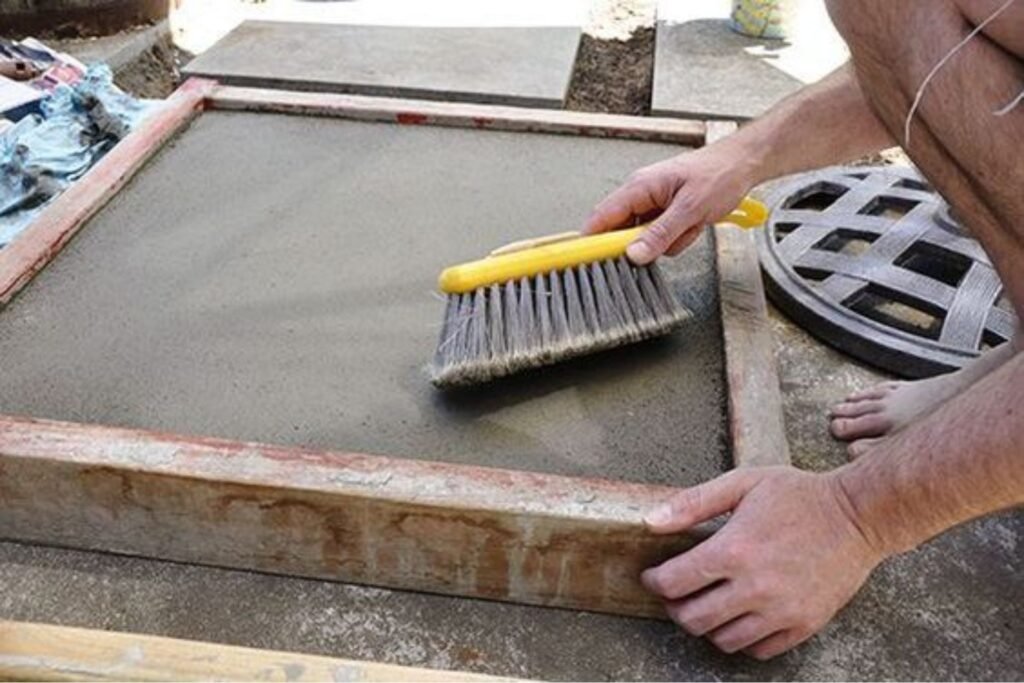
Materials And Tools You’ll Need
When embarking on a DIY concrete slab project, having the right materials and tools is critical for success. Let’s break down everything you need to create strong, long-lasting slabs with ease.
Cement, Sand, and Gravel
To create durable concrete slabs, the three main components you’ll need are cement, sand, and gravel. These ingredients are the backbone of any concrete mixture.
- Cement: This acts as the binder that holds the mixture together once it cures. Opt for a high-quality cement for best results.
- Sand: Fine sand helps fill gaps between larger aggregate materials, ensuring the slab has a smooth finish and structural integrity.
- Gravel: Coarse aggregate like gravel adds strength to the slab, reducing the risk of cracking over time.
The ideal mix ratio for a strong concrete slab is typically one part cement, two parts sand, and three parts gravel. This balance ensures a robust and durable result.
Water
Water is a critical component of the concrete mix. The water-to-cement ratio can significantly impact the strength and workability of your slab. Too much water can weaken the final product, while too little can make it difficult to work with.
A general guideline is to aim for a ratio of about 0.45 to 0.60 (water to cement by weight), which ensures the mixture is moist but not overly wet. Proper hydration allows the cement to set and harden correctly, leading to a stronger slab.
Molds for Slabs
Creating a mold is essential for shaping your concrete slabs. You have several options when it comes to slab molds, depending on the size and shape you want:
- Store-Bought Molds: These are available in various shapes and sizes, making it easy to create uniform slabs. They are usually made of durable plastic or rubber and are reusable.
- DIY Molds: If you’re looking for a more budget-friendly option or want a unique shape, making your own molds can be a fun and creative solution.
- Wood: Using plywood to create square or rectangular molds is a classic and simple option.
- Plastic Tubs: Repurposing old plastic containers can give your slabs a rounded or irregular shape.
- Baking Trays: For smaller slabs or stepping stones, you can even use old baking trays to create interesting patterns and shapes.
Creative Ideas for Unique Slabs
If you’re feeling creative, you can experiment with textured molds or even embed decorative elements like stones, shells, or mosaic tiles into your concrete. This adds a personal touch and elevates the look of your finished slabs.
Essential Tools to Get the Job Done
Now that you have your materials and molds sorted, you’ll need a few basic tools to mix and shape the concrete:
- Wheelbarrow or Large Mixing Container: You’ll need a sturdy space to mix your cement, sand, gravel, and water. A wheelbarrow or a large plastic container works well for this.
- Trowel: A trowel is a must-have for smoothing the surface of your concrete. It allows you to achieve a clean, even finish before the slab sets.
- Measuring Tools: Accuracy is important when mixing concrete. Using a bucket or measuring cup ensures you’re working with the right proportions.
- Protective Gear: Safety comes first! Be sure to wear gloves and safety goggles to protect your skin and eyes from the cement, which can be irritating or even harmful.
For larger slabs or projects requiring extra durability, consider adding reinforcements like mesh or wire. This can greatly improve the strength and longevity of the concrete, especially if the slab will bear heavy loads or be exposed to frequent wear and tear. Reinforcements help prevent cracks and ensure your slab remains structurally sound for years to come.
Having the right materials and tools at your disposal is the first step toward creating strong, high-quality concrete slabs. By following the tips above and paying attention to detail, you’ll ensure your slabs are both durable and aesthetically pleasing. Whether you go with store-bought molds or get creative with DIY options, the possibilities are endless when it comes to designing and executing your slab project.
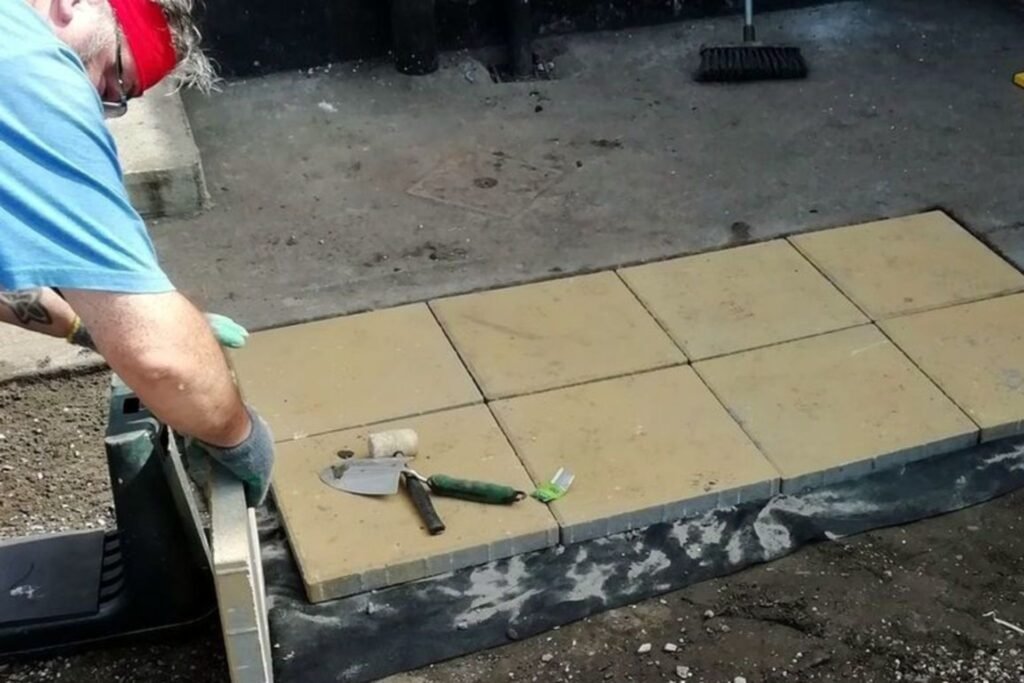
Step-By-Step Guide To Making Pavement Slabs
Creating your own pavement slabs can be a rewarding DIY project. Whether you’re looking to personalize your outdoor space or save money by making slabs yourself, this step-by-step guide will walk you through the entire process. From preparing the workspace to removing the final slab from its mold, each step is crucial for producing durable, attractive pavement slabs. Let’s dive in!
Step 1: Prepare Your Work Area
Before you begin making your pavement slabs, it’s essential to prepare the work area. Working on a well-organized and clean surface will make the process smoother and ensure that your slabs come out perfectly.
Clear and Level Surface
First, find a flat and level surface to work on. This is important because any unevenness in your working area could cause the concrete slabs to set unevenly, resulting in a crooked or flawed final product. Whether you’re working on concrete, pavement, or another solid surface, leveling it is key for high-quality slabs.
Protective Measures
Protect the surrounding areas by laying down plastic sheeting or using old boards. This prevents concrete spills and ensures that removing the slabs after they’ve dried is easy and mess-free. Plus, keeping the work area clean saves time during cleanup.
Step 2: Create Your Mold
The mold you use for your slabs is crucial, as it determines the size, shape, and overall design of your finished product.
Choosing the Shape and Size
You can either purchase pre-made molds or create your own depending on your specific design preferences. Think about the overall aesthetic of your outdoor space and choose a mold that complements it. Square, rectangular, and even custom-shaped molds are popular options for personalized projects.
Seal the Mold
Before pouring any concrete into your mold, make sure to line it with plastic or coat it with a light layer of oil. This step prevents the concrete from sticking to the mold and ensures easy removal once the slab is fully cured.
Step 3: Mix the Concrete
Getting the right concrete mix is the foundation of durable and long-lasting pavement slabs. Proper ratios and consistency will make sure your slabs are both strong and aesthetically pleasing.
Exact Proportions for a Strong Mix
To create a solid, durable slab, mix the concrete in the following ratio: 1 part cement, 2 parts sand, and 3 parts gravel. This combination ensures the slab is strong enough to handle regular foot traffic and various weather conditions.
Consistency Check
You want your concrete mixture to have a thick, creamy texture that can hold its shape without being too runny. It should be easy to pour but not overly watery. Aim for a mixture that feels solid when spread.
If you want to add a creative touch, consider adding color pigments or dyes to the concrete mix. This allows you to create custom-colored slabs that match or complement your design scheme.
Step 4: Pour the Concrete into the Mold
Once you’ve got your mold ready and concrete mixed, it’s time to pour.
- Filling the Mold Evenly: Carefully pour the concrete mixture into the mold, using a trowel to spread it out evenly. Make sure the entire mold is filled and that the concrete reaches all corners for a uniform slab.
- Remove Air Bubbles: To prevent air bubbles from weakening your slab, gently tap the sides of the mold or use a vibrating tool. This helps release any trapped air within the mixture, resulting in a solid and smooth final product.
- Optional Customization: For an added decorative element, you can press tiles, stones, or decorative stamps into the surface of the concrete before it starts to set. This is a great way to personalize your slabs and create unique patterns that stand out.
Step 5: Let it Cure
Curing the concrete is one of the most critical steps in ensuring your pavement slabs are durable and long-lasting.
- Curing Time: Concrete needs at least 24-48 hours to set properly before it can be removed from the mold. However, for maximum strength, allow it to cure for up to 7 days. Patience during this stage will pay off in the durability of your slabs.
- Keep It Moist: To prevent the concrete from drying out too quickly and cracking, lightly mist the surface with water throughout the curing process. Cover the slab with plastic sheeting to retain moisture, ensuring an even cure and strong slab.
If you’re making multiple slabs, consider setting up an assembly line. Pouring, curing, and removing several slabs at once can save time and increase efficiency in larger projects.
Step 6: Remove the Slab from the Mold
Once the concrete has fully set, it’s time to remove your slab from the mold.
- Careful Removal: Carefully remove the slab from the mold by gently tapping the sides to loosen it if needed. Avoid forcing the slab out, as this can cause cracks or damage to the concrete. With proper care, it should slide out smoothly.
- Final Touches: After removing the slab, inspect it for any rough edges. If necessary, use a trowel or fine-grit sandpaper to smooth out any imperfections. This will give your slab a professional finish and make it ready for installation in your outdoor space.
By following this step-by-step guide, you’ll be able to create high-quality, durable pavement slabs that add both functionality and style to your landscape. Whether you’re a seasoned DIY enthusiast or trying this for the first time, these straightforward steps will help you succeed in your concrete slab project.

How To Install Your Pavement Slabs
Installing pavement slabs can completely transform your outdoor space, whether you’re creating a patio, walkway, or garden path. In this guide, we’ll walk you through the entire process—from preparing the ground to placing the slabs, ensuring your project is successful and durable. Let’s get started.
Step 1: Preparing the Ground
The first step to installing pavement slabs is properly preparing the area where they will be placed. This is crucial for ensuring your slabs are stable and last for years to come.
Digging and Leveling
Begin by digging out the designated area to the required depth—generally around 4 to 6 inches, depending on the type of slab and its intended use. For a garden path, a shallower depth may suffice, but for a patio or driveway, you’ll want to dig deeper to support heavier loads.
Once you’ve dug the area, the next step is to ensure the ground is level. You can use a spirit level to check for any uneven spots, which could cause your slabs to shift or crack over time. After leveling, compact the soil using a hand tamper or a plate compactor. A well-compacted base is essential for preventing future movement and ensuring your slabs remain flat.
Adding a Base Layer
After the ground is prepped, it’s time to lay the base. A solid foundation is key to the long-term success of your pavement slab installation. Start by spreading a 2-3 inch layer of coarse sand or gravel. The base layer helps with drainage and provides a stable surface for the slabs to rest on.
Use a rake to spread the material evenly and then compact it again using a plate compactor or tamper. For best results, ensure the base is level before moving on to the next step.
Step 2: Placing the Slabs
With the ground properly prepared, it’s time to lay the pavement slabs. This step requires patience and precision to achieve a smooth and even surface.
Set the Slabs Carefully
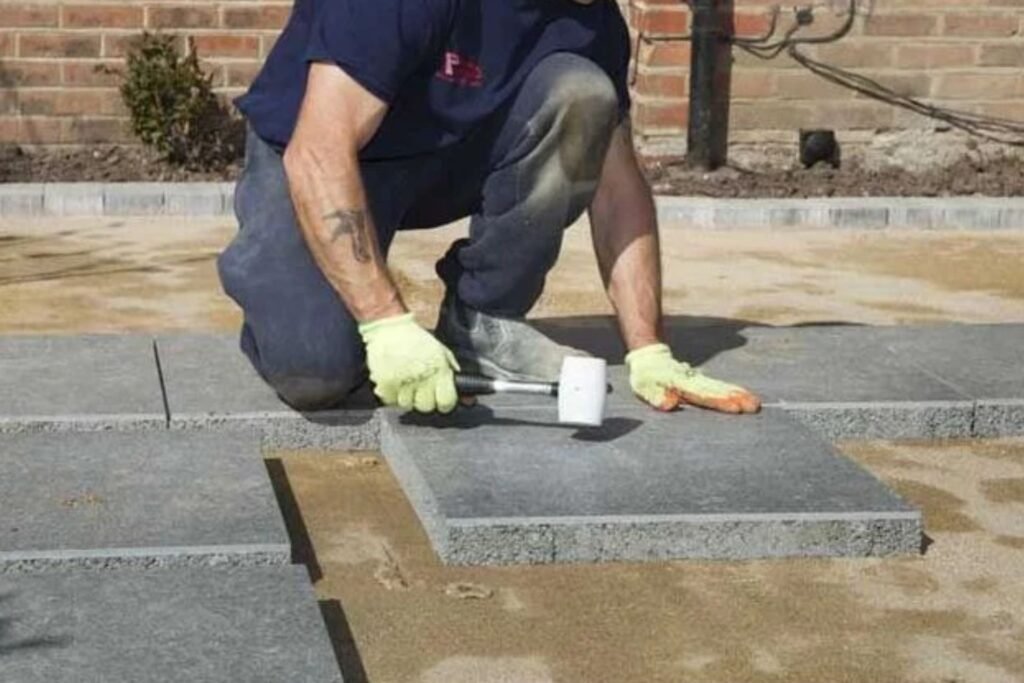
Begin placing the slabs one at a time, working methodically from one corner to the other. Use spacers to ensure consistent gaps between each slab. Check each slab with a spirit level to ensure it is level both side-to-side and front-to-back. If a slab is uneven, gently tap it into place with a rubber mallet, adjusting the base underneath if necessary.
Maintaining consistent spacing and levelness is key to achieving a professional finish. Uneven slabs not only look unattractive but can also be a tripping hazard.
Fill in the Gaps
Once all the slabs are laid, it’s time to fill in the gaps between them. Use fine sand or gravel to fill the joints. Spread the material over the surface, and sweep it into the gaps using a broom. The sand or gravel acts as a stabilizer, helping to lock the slabs in place and prevent movement over time.
Step 3: Pro Tips for a Flawless Finish
Watering the Joints
After filling the gaps, lightly spray the surface with water. This will help the sand settle into the joints, filling any air pockets and compacting it further. Over the next few days, you may need to add more sand as it continues to settle.
Stagger the Slabs for a More Aesthetic Finish
For a more visually appealing design, consider staggering the placement of the slabs, rather than aligning them in a straight grid. This staggered or offset pattern can add depth and interest to your outdoor space, creating a more dynamic and modern look. It’s a particularly good technique when laying a garden path, as it can create a natural flow through the space.
Create a Garden Path
If you’re using the slabs to create a garden path, think about leaving a bit more space between them. This allows grass or groundcover plants to grow between the slabs, giving your path a more natural and integrated look. It also helps soften the hard edges of the pavement and blends it more harmoniously with the surrounding landscape.
Installing pavement slabs may seem daunting, but with proper preparation and attention to detail, you can achieve a beautiful and long-lasting result. Whether you’re creating a patio, walkway, or garden path, following these steps will ensure that your slabs are stable, level, and aesthetically pleasing. By taking the time to prepare the ground, lay the slabs carefully, and finish with thoughtful details, you’ll be well on your way to enjoying a stunning outdoor space that adds value and beauty to your home.
Maintenance Tips For Long-Lasting Pavement Slabs
Proper maintenance of pavement slabs is essential to ensure their longevity, durability, and visual appeal. By following a few simple yet effective maintenance practices, you can significantly extend the life of your concrete slabs, prevent costly repairs, and keep them looking their best for years to come. Here’s a closer look at some key maintenance tips that will help you achieve this.
Seal the Surface
One of the most effective ways to protect your pavement slabs from damage is by applying a high-quality concrete sealer. This creates a protective layer that shields the surface from weather conditions such as rain, snow, and UV rays. A good concrete sealer also helps prevent staining from oil, dirt, or other substances that might penetrate the concrete and cause discoloration.
Concrete sealers are typically applied once every couple of years, depending on the climate and foot traffic. The process is straightforward: clean the surface thoroughly, allow it to dry, and then apply the sealer evenly with a roller or sprayer. Be sure to follow the manufacturer’s recommendations regarding drying time and reapplication frequency.
Regular Cleaning
Regular cleaning is a simple yet crucial step in maintaining your pavement slabs. Over time, dirt, debris, and organic material can accumulate on the surface, leading to discoloration and potential deterioration. Sweeping off leaves, twigs, and dust helps preserve the slabs’ aesthetic appeal and reduces the risk of surface erosion.
For deeper cleaning, it’s recommended to hose down the slabs occasionally. A garden hose with moderate water pressure can be used to remove any stubborn dirt or stains. For tougher stains like oil or grease, a mild detergent mixed with water and a soft-bristle brush can do wonders. Avoid using harsh chemicals or power washers, as they may damage the surface or remove protective coatings.
Repairing Chips or Cracks
Even with diligent maintenance, small chips or cracks may eventually appear on your pavement slabs due to natural wear and tear or exposure to the elements. It’s essential to address these issues as soon as possible to prevent them from worsening.
For minor cracks or chips, using a concrete patch kit is a quick and efficient solution. These kits typically include all the necessary materials, such as a patching compound and bonding agent, to fill in the damaged area. Start by cleaning the crack or chip thoroughly to remove any loose debris. Next, apply the bonding agent to ensure the patch adheres properly. Then, fill the crack with the patching compound, smoothing it out to match the surrounding surface. Allow the patch to dry and cure according to the product’s instructions.
By staying on top of repairs, you can prevent small cracks from turning into major issues that require more extensive and expensive repairs.
Caring for your pavement slabs doesn’t have to be complicated, but it does require consistency. Applying a concrete sealer, regularly cleaning the surface, and promptly repairing any chips or cracks are three simple yet highly effective strategies for maintaining long-lasting, beautiful pavement slabs. By investing a little time and effort into maintenance, you can protect your investment and keep your outdoor space looking its best for years to come.

Common Mistakes To Avoid When Making Pavement Slabs
Creating durable and high-quality pavement slabs requires careful attention to detail. While the process might seem straightforward, there are several common mistakes that can lead to issues down the road. If you’re planning a paving project, avoiding these errors can save you time, money, and frustration. Let’s take a closer look at the most frequent mistakes and how to steer clear of them.
Improper Mixing Ratios
One of the biggest mistakes when making pavement slabs is not adhering to the correct cement-sand-gravel ratio. This mix is the foundation of your slab’s strength and durability. For most concrete applications, a ratio of 1 part cement, 2 parts sand, and 3 parts gravel is ideal. If you add too much sand or gravel, you may end up with weak, brittle slabs that are prone to cracking. On the other hand, too much cement can make the mixture harder to work with and more likely to shrink as it cures, leading to surface cracks. Always measure your materials carefully to ensure a consistent and strong final product.
Skipping the Curing Process
Rushing through the curing process is another common mistake that can significantly weaken your pavement slabs. Curing is the chemical process where the concrete hardens and gains its full strength. If you skip or shorten this phase, the slabs may not develop enough strength, leading to early deterioration or cracking. It’s crucial to keep the slabs moist and protect them from extreme weather conditions for at least 7 days to allow proper curing. Patience is key—rushing this process will compromise the longevity and durability of your slabs.
Not Leveling the Mold
A level mold is essential for producing uniform slabs. If the mold is uneven or crooked, the slabs you produce will follow suit. This makes installation much more difficult, as uneven slabs can result in a bumpy surface, which is not only unattractive but also dangerous. Take the extra time to ensure your mold is perfectly level before pouring the concrete. Use a spirit level or similar tool to double-check your setup. Leveling the mold will save you time and hassle during installation and provide a smoother, more professional finish.
Overlooking Ground Preparation
The foundation on which your slabs will sit is just as important as the slabs themselves. Skipping or neglecting proper ground preparation can lead to long-term issues such as shifting, sinking, or cracking. If the ground beneath the slabs is uneven or soft, the slabs will not sit properly, causing instability. This instability can result in cracks or even broken slabs over time. Before installing your pavement slabs, make sure the ground is well-compacted, level, and free of debris. Adding a layer of gravel or sand can also help provide a stable base and improve drainage.
Creating strong and durable pavement slabs is all about following the right steps and avoiding common pitfalls. By paying attention to proper mixing ratios, allowing ample curing time, leveling your molds, and preparing the ground properly, you can ensure that your slabs stand the test of time. Whether you’re tackling a DIY project or overseeing a professional installation, avoiding these mistakes will lead to a better, longer-lasting result.

FAQs: About How To Make Pavement Slabs
What materials do I need to make pavement slabs?
To make pavement slabs, you’ll need cement, sand, gravel, and water. You may also need optional items like reinforcements (wire mesh) for larger slabs, color pigments if you want to customize the slab color, and mold release agents (like oil) to help remove the slabs from the mold more easily.
How thick should my pavement slabs be?
For most garden paths or patios, slabs should be at least 2 inches thick. For heavier use areas like driveways or areas with heavy foot traffic, aim for a thickness of around 3-4 inches for durability and strength.
What is the ideal concrete mix ratio for pavement slabs?
A common mix ratio is 1 part cement, 2 parts sand, and 3 parts gravel. This ensures a strong and durable slab. You’ll also need enough water to mix everything to a thick, creamy consistency. Too much water can weaken the mix, so add it gradually.
Can I make molds for pavement slabs myself?
Yes, you can create DIY molds using materials like wood, plastic containers, or even baking trays. Custom molds allow you to choose the shape and size of your slabs. Just make sure to line the mold with plastic or apply oil to prevent the concrete from sticking.
How long does it take for concrete pavement slabs to dry?
Concrete slabs generally take 24-48 hours to dry enough for removal from the mold. However, for full curing (and maximum strength), allow the slabs to dry for at least 7 days. Keep the slabs moist during this time by misting them with water and covering them with plastic sheeting.
Can I add color to my pavement slabs?
Yes, you can add color to your slabs by mixing concrete dyes or pigments into the wet concrete mix. Make sure to mix thoroughly for an even color distribution. You can also apply surface stains after the slab has cured if you prefer to customize the look later.
What is the best way to cure the pavement slabs?
To properly cure the slabs, keep them moist and cover them with plastic sheeting. This helps prevent the concrete from drying too quickly, which can lead to cracking. Curing for at least 7 days will give your slabs maximum strength.
How do I prevent cracks in my homemade pavement slabs?
Avoid cracks by mixing the concrete properly (with the right ratios of cement, sand, gravel, and water), and allowing the slabs to cure fully. Reinforcing the slabs with mesh or wire for larger projects can also add strength. Additionally, be mindful not to let the concrete dry too quickly by keeping it covered and moist during the curing process.
Can I use homemade pavement slabs for driveways?
Yes, but you need to make the slabs thicker and stronger. Aim for at least 4 inches of thickness and consider adding reinforcement like wire mesh to handle the weight of vehicles. The base for the slabs must also be compacted and stable to prevent shifting over time.
Do I need to seal my pavement slabs after installation?
Sealing the slabs is highly recommended. A concrete sealer protects against weather damage, staining, and wear. It can also help maintain the appearance of the slabs over time, especially if you’ve added color to them.
Conclusion
In conclusion, making your own pavement slabs is a rewarding DIY project that offers numerous benefits, from saving money to unleashing your creativity while providing a great sense of accomplishment. By crafting custom slabs, you can personalize your outdoor space and gain valuable hands-on experience. If you’re new to working with concrete, a great way to start is by tackling smaller projects like garden stepping stones before advancing to larger slab designs.
About the Author:
Mike Veail is a recognized digital marketing expert with over 6 years of experience in helping tradespeople and small businesses thrive online. A former quantity surveyor, Mike combines deep industry knowledge with hands-on expertise in SEO and Google Ads. His marketing strategies are tailored to the specific needs of the trades sector, helping businesses increase visibility and generate more leads through proven, ethical methods.
Mike has successfully partnered with numerous companies, establishing a track record of delivering measurable results. His work has been featured across various platforms that showcase his expertise in lead generation and online marketing for the trades sector.
Learn more about Mike's experience and services at https://theleadguy.online or follow him on social media:


